Rosette Cookies Recipe
Rosette cookies hold a special place in our hearts, reminiscent of cherished childhood memories on the farm with Grandma and the whole family. For those who haven't tried them, these delightful treats are made from a simple fried batter that clings to the rosette irons. They're not overly sweet, with just a hint of sugar, but it's the powdered sugar that perfectly complements the crunchy texture. It's no wonder these cookies are the inspiration behind funnel cakes; they're a labor of love that's definitely worth the effort.
Ingredients:
- Vegetable oil or lard (for frying)
- 2 eggs
- 1 tablespoon of sugar
- 1 cup of flour
- A pinch of salt
- 1 cup of whole milk
- 1/2 tablespoon of vanilla extract
- Powdered sugar (for dusting)
Instructions:
1. Prepare the Oil:
- In a heavy pot, preferably cast iron, heat vegetable oil or lard. Fill the pot to a level between a quarter and half full. You'll need enough oil for frying the rosettes.
2. Heat the Rosette Iron:
- To make rosettes, you'll need a cast iron rosette maker. Heat the rosette maker in the oil until it's thoroughly heated.
3. Prepare the Batter:
- In a separate bowl, combine the following ingredients:
- 2 eggs
- 1 tablespoon of sugar
- 1 cup of flour
- A pinch of salt
- 1 cup of whole milk
- 1/2 tablespoon of vanilla extract
- Whisk the mixture until it's well combined.
4. Dip the Rosette Iron:
- Once the oil is hot, dip the heated rosette maker into the batter, but only submerge it about 3/4 of the way. Avoid covering the entire rosette maker to ensure the cookie can be easily removed.
5. Fry the Rosette: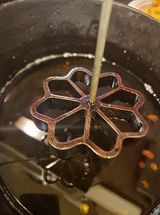
- Carefully dip the batter-coated rosette maker into the hot oil for about a minute. The cookie will begin to cook and take shape.
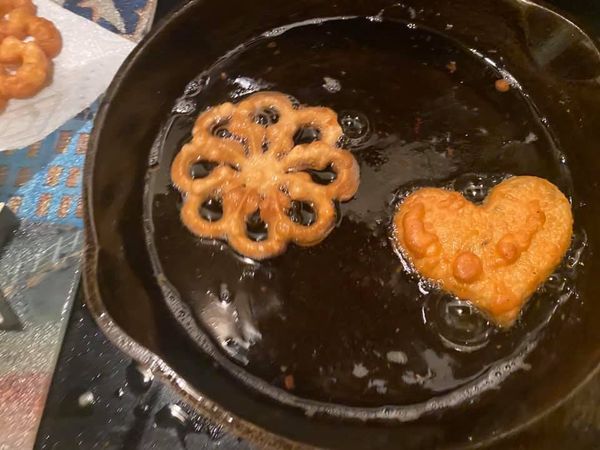
- Use a fork or butter knife to gently nudge the cookie off the rosette maker. It should drop into the hot oil.
- Let it fry for approximately 30 seconds, then flip it over. Fry until it turns golden brown.
6. Drain and Serve:
- Remove the fried rosette from the oil and place it on a paper towel to drain any excess oil.
- Sprinkle the rosette lightly with powdered sugar to add that delightful finishing touch.
7. Be Patient:
- Finding the perfect balance between the heated rosette maker and the easy release of the cookie can be a bit tricky. Don't worry if you ruin a few rosettes at first; it takes a bit of practice.
8. Enjoy:
- Once your rosette cookies are ready, it's time to savor the sweet, crispy goodness. Enjoy them with a friend or keep them all to yourself!
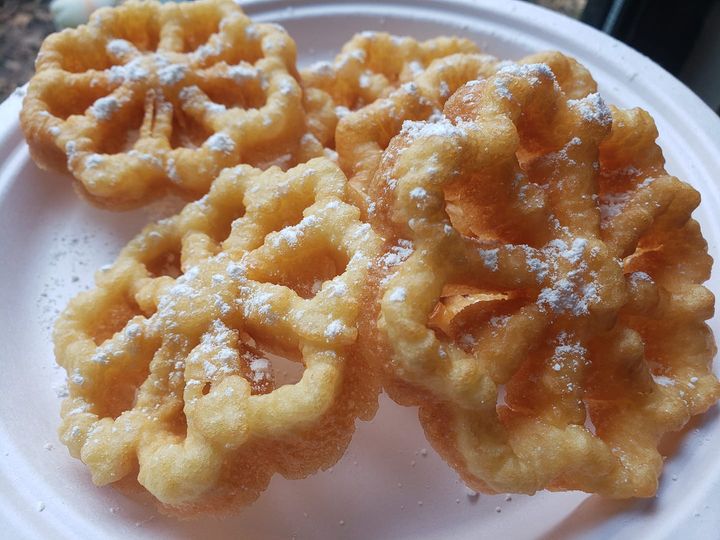

These Scandinavian Rosette Cookies are a labor of love that brings back wonderful memories and creates new ones. Happy baking!
For more recipes that bring back memories, check out Memory Lane Meals and Recipes by clicking here. We also have a category dedicated to recipes with family stories, which you can find on our homepage or by clicking here.

